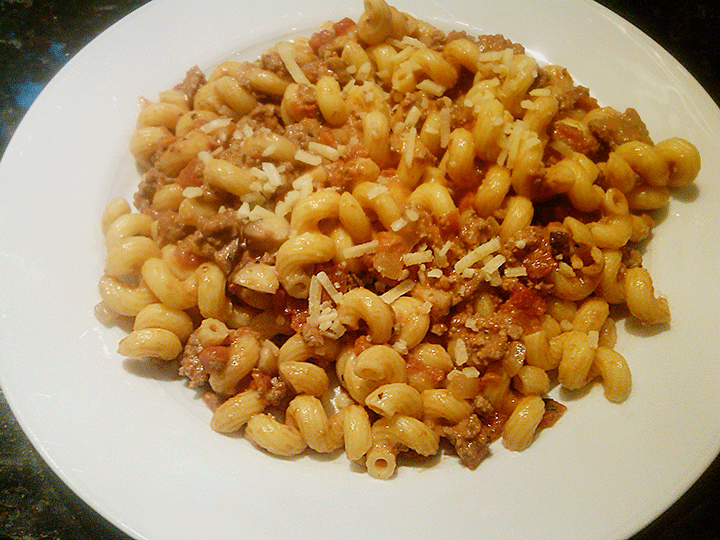
recipe: vodka bolognese

March 31st, 2012 | Posted by admin in Entrées | RECIPES - (0 Comments)

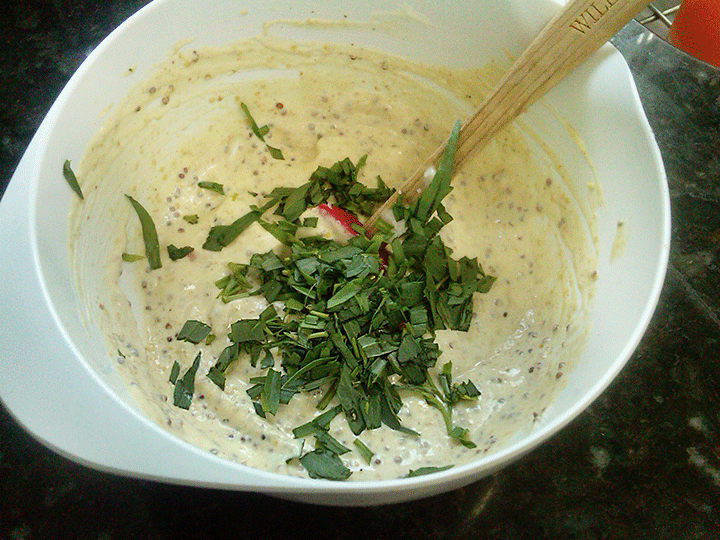
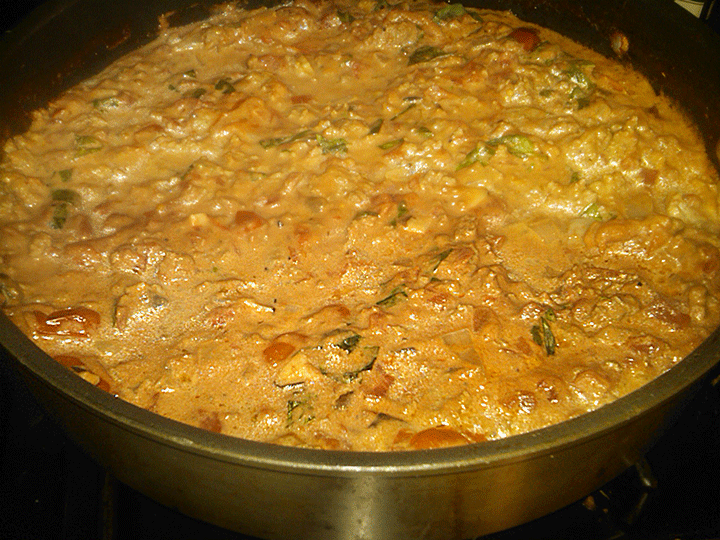
I had a mishap unpacking my groceries, as I opened the trunk of my SUV my grocery bag came crashing out and the new sauce I wanted to try splattered all over my garage floor.  I thought I’d cheat a little, make a pasta, add a few spices to it… dinner would be quick!  Well it was a great plan but now I had to make my own sauce.  So I quickly sauteed 3 minced garlic cloves in tablespoon of olive oil, with a ½ tsp of red pepper flakes.  I chopped up a cup of shitake mushrooms (caps only) and 1 small diced onion, added that to the garlic.  I cooked for approx. 2-3 minutes until the onions were translucent.  I then added 1 pound of grass feed ground beef and browned.  My next addition was a large 15 oz can of San Marzano crushed tomatoes, 1 cup of fresh grape tomatoes cut in half, ½ cup of heavy cream, 1/3 cup of vodka, 1/3 cup grated parmesan, 2 tablespoons of chopped fresh basil.  I let this simmer for about 20 minutes.  I boiled my pasta; I used Barilla Cellentani, a twisted pasta that I love.  The final step was to mix the pasta and sauce and serve.

Everything I used in this recipe was something I had in the house… I just made it up as I went along.  This is the way a fast meal works in my house.  I don’t always follow a recipe but rather work from scratch with whatever I have on hand.  It usually turns out and it’s fun to play with what you have in the house.  Enjoy, remember you can make changes, additions or subtractions… have fun with it!


spring planting continued

March 30th, 2012 | Posted by admin in FLOWERS | Outdoor - (0 Comments)

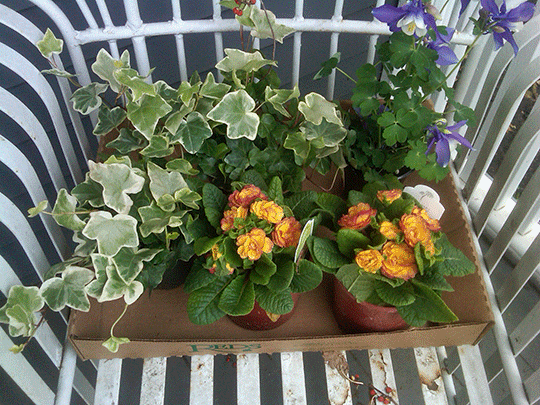
Anton’s in Highland Park, IL is another great garden spot.  I stopped by and picked up five plants to add to the container I planted the other day.  I did say I may add more plants.  I popped in two variegated Ivy to add some fullness and draping over the containers.  I needed some height so I kept in the purple hues and added a beautiful lavender columbine.


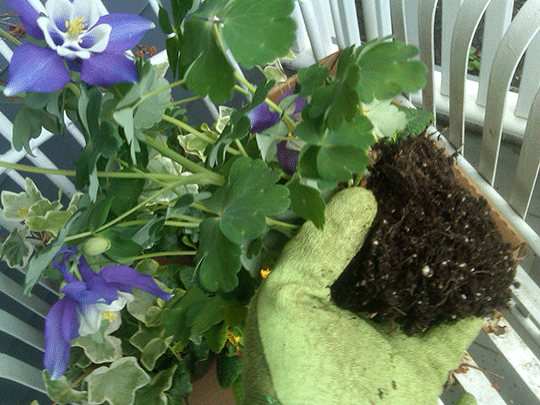
Note when I take the container off the roots I pull off some of the surrounding soil being careful not to break the roots but loosen them.  This enables the plant to take hold in your container and gives you room for more plants.


My last additions were two Nectarine Primula, a low plant that has a great strong leaf that surrounds a pop of double-flowered primrose.  I also love seeing primrose planted in the ground as an annual in our zone for spring and early summer.  All the plants do well in sun and part shade.  This container will stay put until June when I’ll change the spring plants out and keep the Ivy, Lamiastrum and Creeping Wire Vine.  Take a trip to your favorite nursery; decide on a color way and have fun.


recipe: best brownies ever

March 30th, 2012 | Posted by admin in Desserts | RECIPES - (2 Comments)

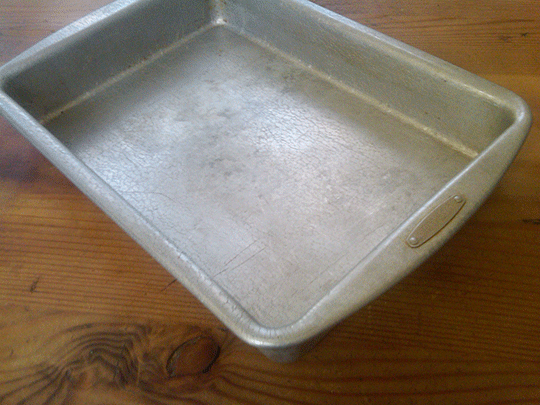
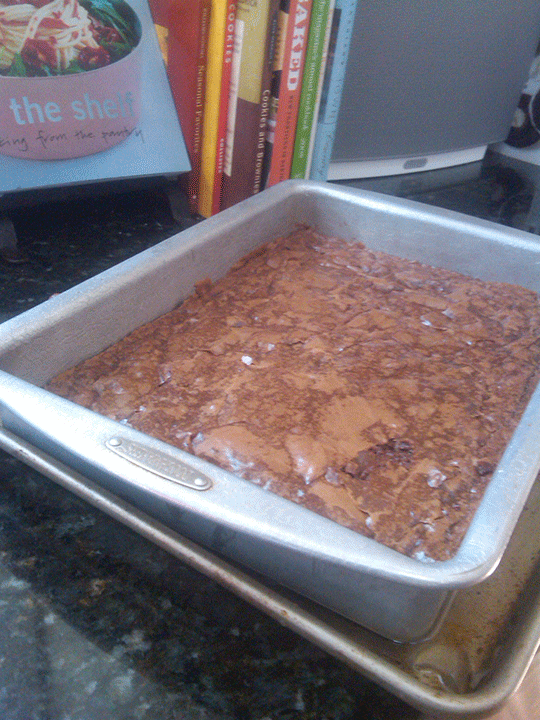
The absolute best brownie recipe I have found is in the cookbook “Alice Medrich’s Cookies and Brownies”.  Alice Medrich’s brownies are a fudgy, chocolate decadent treat that elevates the normal cake-like brownie to a special dessert.  When making these brownies it is important to use a 13 x 9 metal pan.  I found this one in a cook store in Minneapolis; the brand is “Doughmakers”.  It turns out a perfect tray of brownies every time.  You can serve these brownies with fresh raspberries and whipped cream or caramel sauce and a dollop of vanilla ice cream.  I usually make a tray and keep them in the freezer so I always have a special sweet treat on hand.


Best Ever “New Classic Brownie” by Alice Medrich

I have doubled Alice’s recipe.  Serves 12-24 depending on how you cut them.


INGREDIENTS:
• 2 sticks of unsalted butter
• 8 oz of unsweetened chocolate (use semi-sweet and also ½ milk chocolate, it all works)
• 2½ cups of sugar
• 2 teaspoons of vanilla
• ½ teaspoon of salt
• 4 large eggs
• 1 cup of all-purpose flour
• Optional: 2/3 cups of chopped walnuts or pecans (I have also used cashews)


DIRECTIONS:
• Preheat oven to 400 degrees, position rack in lower third of the oven.

• I butter my metal pan and do not use parchment, but the recipe suggests lining the             bottom with parchment.  So try either way.  My pan works well without the parchment.

• First melt the butter and chocolate in a double boiler stirring with a wooden spoon.  When   it is melted remove from heat and add the sugar, vanilla and salt.

• Next add the eggs one at a time stirring until each is incorporated into the batter.

• Finally add the flour mixing with a wooden spoon until the batter is glossy and smooth and   it comes away from the sides of the pan.

• Stir in the nuts if you are using.

• Scrape the batter into the prepared pan and bake for approximately 20 minutes or until the   brownies begin to pull away from the sides of the pan.  The surface of the brownies will         look dry but if you use a toothpick the center will be gooey.

• While the brownies are baking take a large baking pan and fill with ice cubes and cold         water about ¾ inches deep.  This is your ice bath and a crucial component to making         these brownies!

• When the brownies are ready take them out of the oven and carefully place the pan in the   ice bath (you do not want to splash water on the brownies).

• Cool the brownies in the ice bath for about ½ hr.

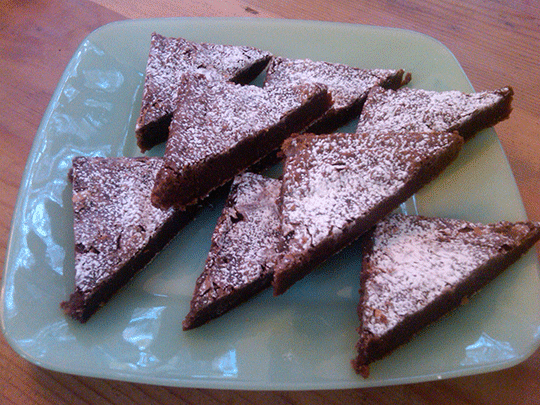
• When cool slice the brownies.  I cut them in squares and then cut them on a diagonal.

• Dust with confectionary sugar and serve.


spring planting

March 29th, 2012 | Posted by admin in FLOWERS | Outdoor - (0 Comments)

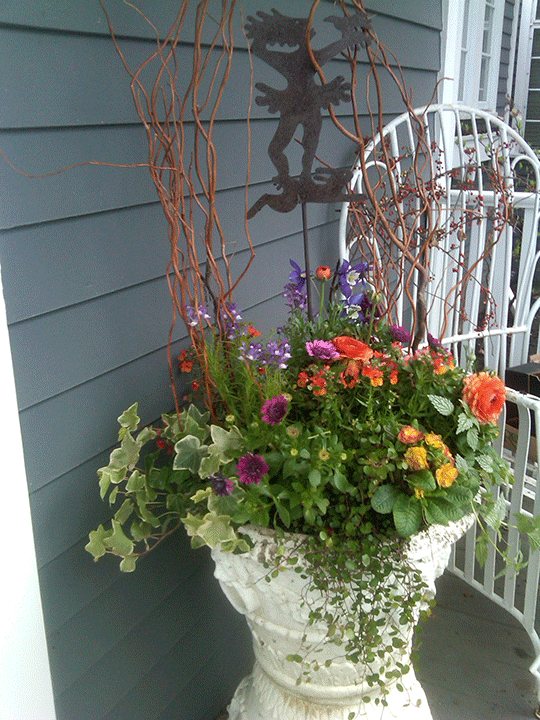
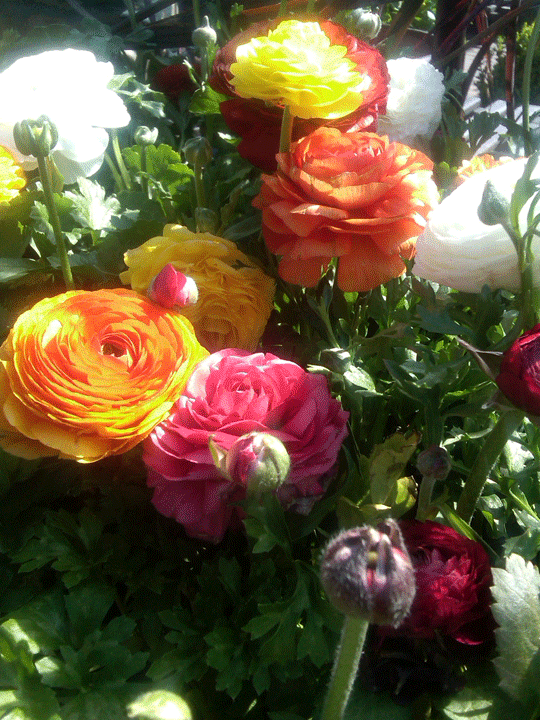
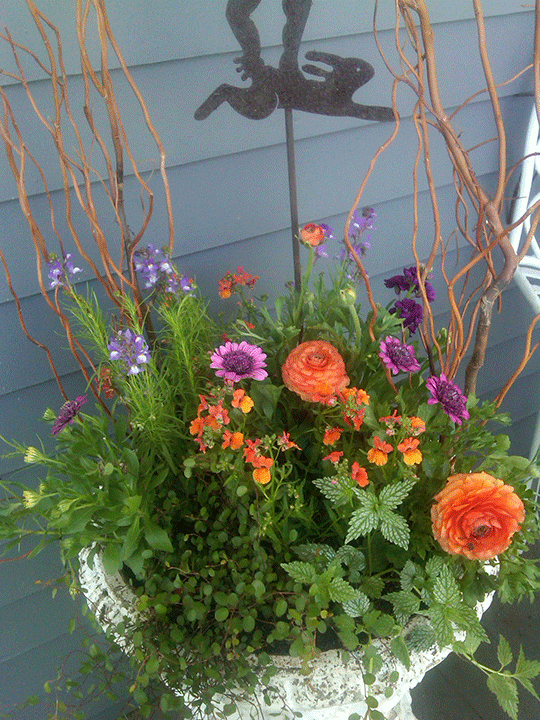
Spring has arrived I have to get to a nursery, garden center, anywhere I can find spring plants.  This is like dipping your toes into a cold lake for the first summer swim… I’m a bit hesitant but I so want to jump in!  I know there could be colder days ahead so I decide to just plant the small container on my little porch.  I won’t go crazy because I certainly want to save my pennies for summer stunners.  It felt so good to see all the colors and beautiful plants ready for spring at Chalet today.  My all time favorite spring annual (here in Zone 5) is Ranunculus.  It comes in red, white yellow, shades of pink and a hot orange I adore.  I decide on my pallet, a variety of purples with a bit of texture in accent plants and of course hot orange.

This planter contains two of each flowering plant, purple Osterspermum, Fantasy Blue Linaria an airy plant delicate in appearance, Angelart Orange Nemesia another smaller flower but lovely filler and Bloomingdale Tangerine Ranunculus.  The accent plants are Hermann’s Pride Dead Nettle and Creeping Wire Vine Muehlenbeckia axillaris, the coolest looking plant.  I added some curly willow as an arch above the planter and an old post of a girl with a bunny.  I could add another four plants easily, we’ll see.  My hands are dirty and I feel grand!  I am so thankful for this gorgeous day and the lovely flowers I get to enjoy.


I am having a currant fixation… love them in everything.  They add a bit of sweetness, subtle and nice change of texture.  Both these recipes have currants in them so enjoy… use them as substitutes for raisins.  My plan is to make this chicken salad recipe and have it for lunch a few days during the week.  But the day I make it… it’s gone!  The Kale salad lasts another day but I’m not sure they (my family) have discovered how good it is yet.


CURRIED CHICKEN SALAD

This recipe is adapted from “Cooking My Way Back Home” by Mitchell Rosenthal.


INGREDIENTS:
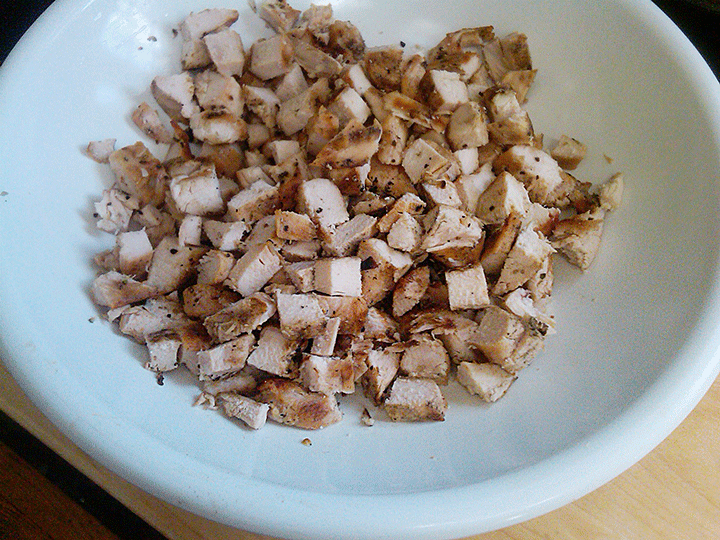
• Four whole chicken breasts, skinless.  Prepare by either cubing or shredding chicken.  (You can poach and shred the chicken, saute or grill.)
• ½ cup currants (soak in warm water for 6 minutes and drain)
• 2 medium apples, diced
• ½ large fennel bulb, diced
• 4 stalks of celery, diced
• ½ cup of mayonnaise
• ½ cup dry roasted cashews chopped
• 1½ tablespoons of curry powder
• 2 tablespoons of lemon juice (I prefer meyer lemons)
• Salt & pepper to taste


DIRECTIONS:
• When your chicken has cooled and it is cubed or shredded mix with above ingredients.

• Mix and serve over mixed greens or on buns with greens.  Enjoy!


KALE SALAD


INGREDIENTS:
• 2 large bunches of Tuscan kale
• ¼ cup dried currants
• 2 tablespoons of pine nuts
• 1/3 cup of shaved parmesan
• 2 tablespoons of rice vinegar
• 2 tablespoons of white wine vinegar
• 1½ tablespoons of honey
• ¼ cup of extra virgin olive oil
• Salt & pepper to taste


DIRECTIONS:
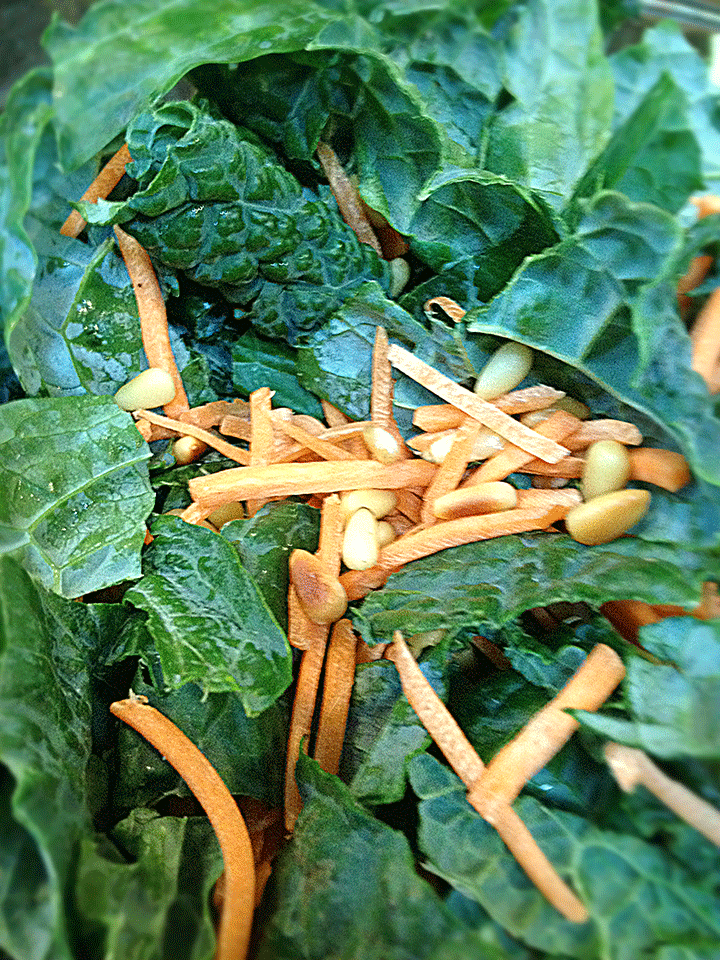
• Clean the Kale and chop do not use the stalks.

• Place in a large bowl.  Add the next three ingredients.

• Whisk together the remaining items… vinegars, honey and olive oil.

• Add salt & pepper to taste.

• Mix with Kale, currants and parmesan.  Ready to serve.

• If you dress the kale it will last for a couple of days.  This is a great healthy side for a           meat entrée, or serve with the chicken salad for lunch.


kitchen girl

March 27th, 2012 | Posted by admin in UPDATES - (0 Comments)

This is Callie, my dearest friend who is always with me whenever I am in the kitchen.  Her usual perch is under the kitchen table beyond the island, where she can get a good look at things but not be in the way.  Her eyes will follow me for hours as I cook and clean up, and cook and clean up.  She keeps me company and warms my heart as I try new ideas, revisit old recipes and listen to music.  I am a dog lover… meaning my dogs are family.  They fill my life with unconditional love, warmth, humor and free therapy!  I wanted you to meet my kitchen girl.


recipe: bean salad

March 27th, 2012 | Posted by admin in RECIPES | Salads - (0 Comments)

I’m cooking today for a client and this is one of our standard salads to have in the fridge for lunch or a side dish.  I made the salad with more of an Italian flavoring but you can change this up with different beans add corn and avocado with a bit of cilantro and you have a great side for fajitas or chiles rellenos.  I enjoy this recipe because it’s easy to make healthy, high in fiber and low in calories.


Serves 6


DRESSING INGREDIENTS:
• 3 tablespoons of red wine vinegar
• ¼ cup of canola oil
• ¼ cup of olive oil
• 2 cloves of minced garlic
• 1 teaspoon of Dijon mustard
• Salt & Pepper


MAIN INGREDIENTS:
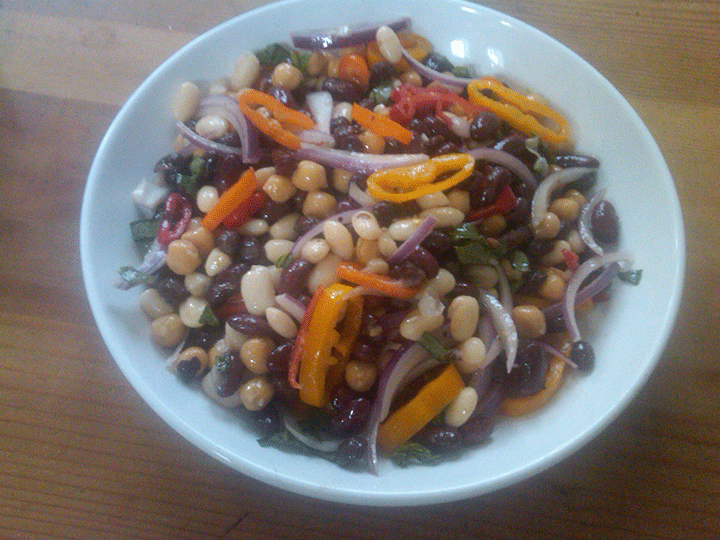
• 1-15 oz can of white beans
• 1-15 oz can red kidney beans
• 1-15 oz can garbanzo Beans
• ½ can (7.5oz) black beans
• 2 small red peppers seeded and cut in rings
• 2 small yellow peppers seeded & cut in rings
• ½ red onion sliced
• ¼ cup of fresh basil chopped


DIRECTIONS:
• Whisk or use an emulsion blender to blend all of the dressing ingredients.

• Rinse and strain beans then mix with peppers, onions and basil.

• Mix in dressing.

• Add salt & pepper to taste.


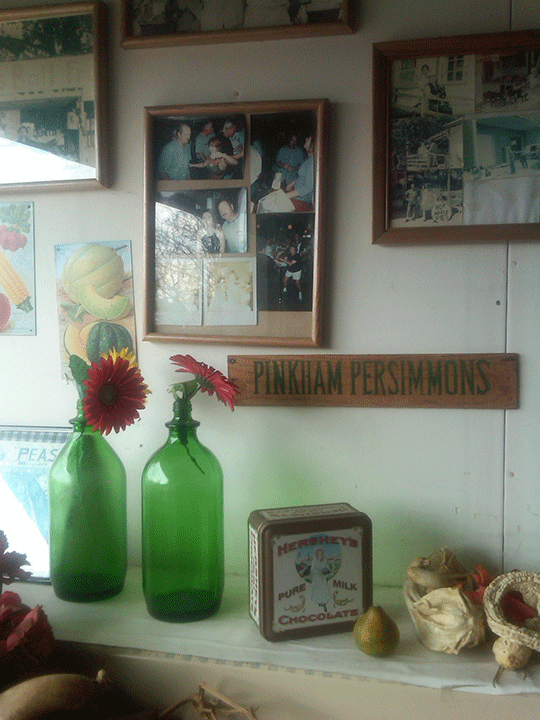
My dear friend, who has not yet given me permission to mention her by name, is my companion in all food matters.  When the season starts for fresh produce and outdoor markets we are ready at the crack of dawn with bags and baskets in hand.  Our senses are inspired by the smell of fresh herbs, the variety of the produce and the creativity of the specialty foods for sale.  Since the weather here north of Chicago feels like the southern coast we needed to venture to a market.  We headed farther north where the weather was a bit warmer… go figure!  “Brass Ball Fruit” and “River Valley Kitchens” were our stops today.  It satisfied our urge for fresh market shopping and we revisited old friends that we will see at the outdoor market soon enough.


BRASS BALL FRUIT MARKET – Paddock Lake Salem, WI

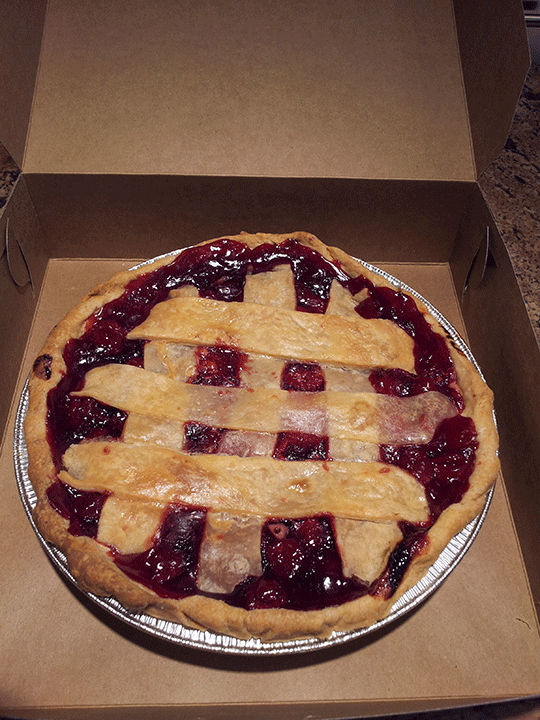
Known for their homemade pies and breads.  It is a very small open market store.  The pies were “HOT”, fresh from the oven and too hard to resist.  I will be back for bread, pancake mix, syrup, more fresh produce and of course another pie.


RIVER VALLEY KITCHENS – Burlington, WI.

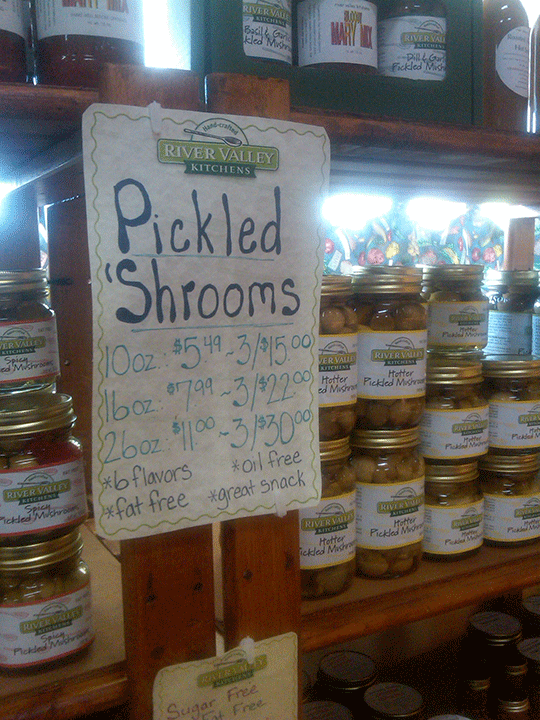
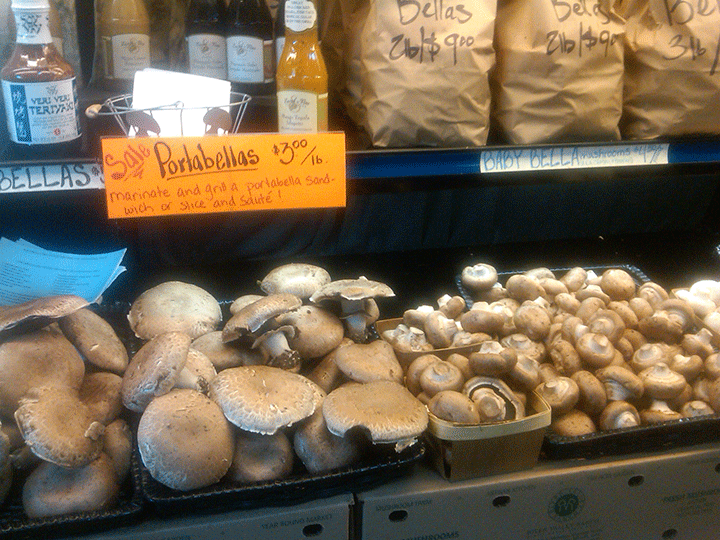
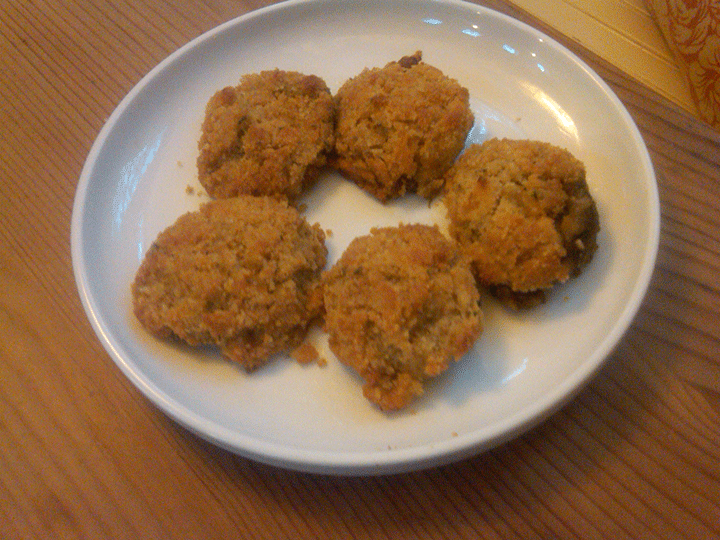
We met this vendor at the farmer’s market in Evanston, IL.  They are mushroom farmers and have a selection of mushrooms you don’t find everywhere.  They pickle their mushrooms, make mushroom salsa, mushroom pasta sauce and “Shroomschetta”.  Their 5-cheese Garlic Spread is out of this world.  I use it for pasta sauce, as a dip and love it on burgers!  They have cheeses, homemade scones, fresh eggs, fresh bacon and so much more.  When the markets start I suggest you visit their booth but in the mean time on a lovely Spring day take a ride up to Wisconsin and visit their store.


I have included their “Stuffed Mushroom” recipe:


INGREDIENTS:
• 1 pound of medium to large mushrooms
• 2 Tablespoon of Olive Oil
• ¼ cup of chopped onion
• 1 small garlic clove minced (I always add another clove)
• 1/3 cup of bread crumbs
• 1 Tablespoon of chopped parsley
• ½ tsp of kosher salt
• 1/8 teaspoon of dried oregano
• Dash of fresh ground black pepper


DIRECTIONS:
• Preheat oven to 400 degrees.

• Remove stems from mushrooms, place cap side down in a greased casserole dish.

• Finely chop the stems, heat oil in a skillet over medium heat.

• Add chopped stems, onions and garlic to heated oil.  Saute until lightly browned.

• Combine bread crumbs, parsley salt, pepper and oregano in a large bowl.

• Add sauteed mushroom mixture.

• Stuff mushroom caps and bake for 15-20 minutes or until mushrooms are tender.


places to go: a la carte

March 23rd, 2012 | Posted by admin in PLACES TO GO - (0 Comments)
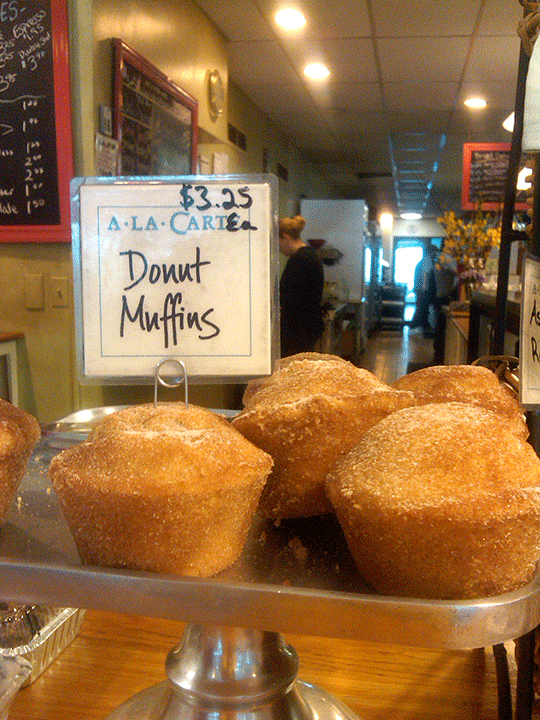
This is a small restaurant/catering/food-on-the-go destination.  Whenever I am near Wilmette I make my way to A La Carte.  The selection is perfect always a variety of salads, sandwiches, dinner entrees and wonderful desserts.  The food is fabulous but so are the people that work there, helpful, happy, and a pleasure to work with.  If you are north on Greenbay Rd… stop in for lunch or a sweet treat.  I had to get a donut muffin.  I love muffins and adore donuts so of course I was hooked as were the other 2 patrons before & after me!


tools: gloves & planting

March 23rd, 2012 | Posted by admin in FLOWERS | Tools - (0 Comments)

I just was watching a TV segment on how to make your hands look younger for thousands of dollars!  It made me think about an encounter I had at a nursery several years ago.  I had been planting every day, my hands were a bit beaten up from the constant work they were required to do!  As I rung up my cart of flowers for the next job I looked at my hands a bit embarrassed as the nails were cut short, sun spots on my hands and the cuticles definitely needed work, bits of soil here and there. I handed over my money and the salesman said “You have beautiful hands; they are hands that have been working hard.”  I was so overwhelmed by those kind words.  He made me think about myself and how lucky I am that my hands work. I cook with them, dig with them, cut flowers, trim bushes, wash an occasional floor and yes I suddenly saw them not as aging and rough but as a gift I have been given.

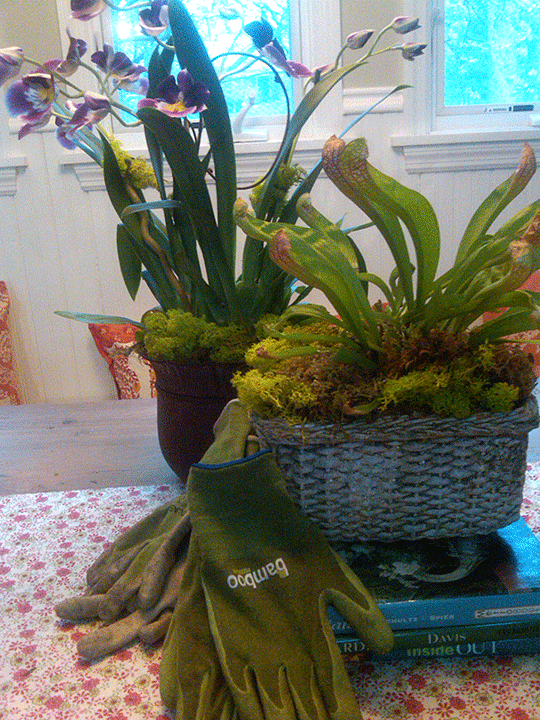
This brings me to the garden gloves that I think work the best.  I am not always great at keeping my gloves on during gardening.  So I found a couple of brands that fit close to your hand and make them easy to use while protecting your hands, the “Atlas Nitrile Touch” and the “Bamboo”. Both gloves have worked well for me.  I suggest you creme your hands before a day of gardening and then put your gloves on for protection.  In season my hands will show they are working hard… I am happy to have them a bit rough, a bit beaten up but still beautiful.